How to Make a Photo Look Professional for LinkedIn
Make a LinkedIn photo look professional with a clear source photo, role-matched crop, realistic AI headshot settings, and a final upload check.
خلاصه
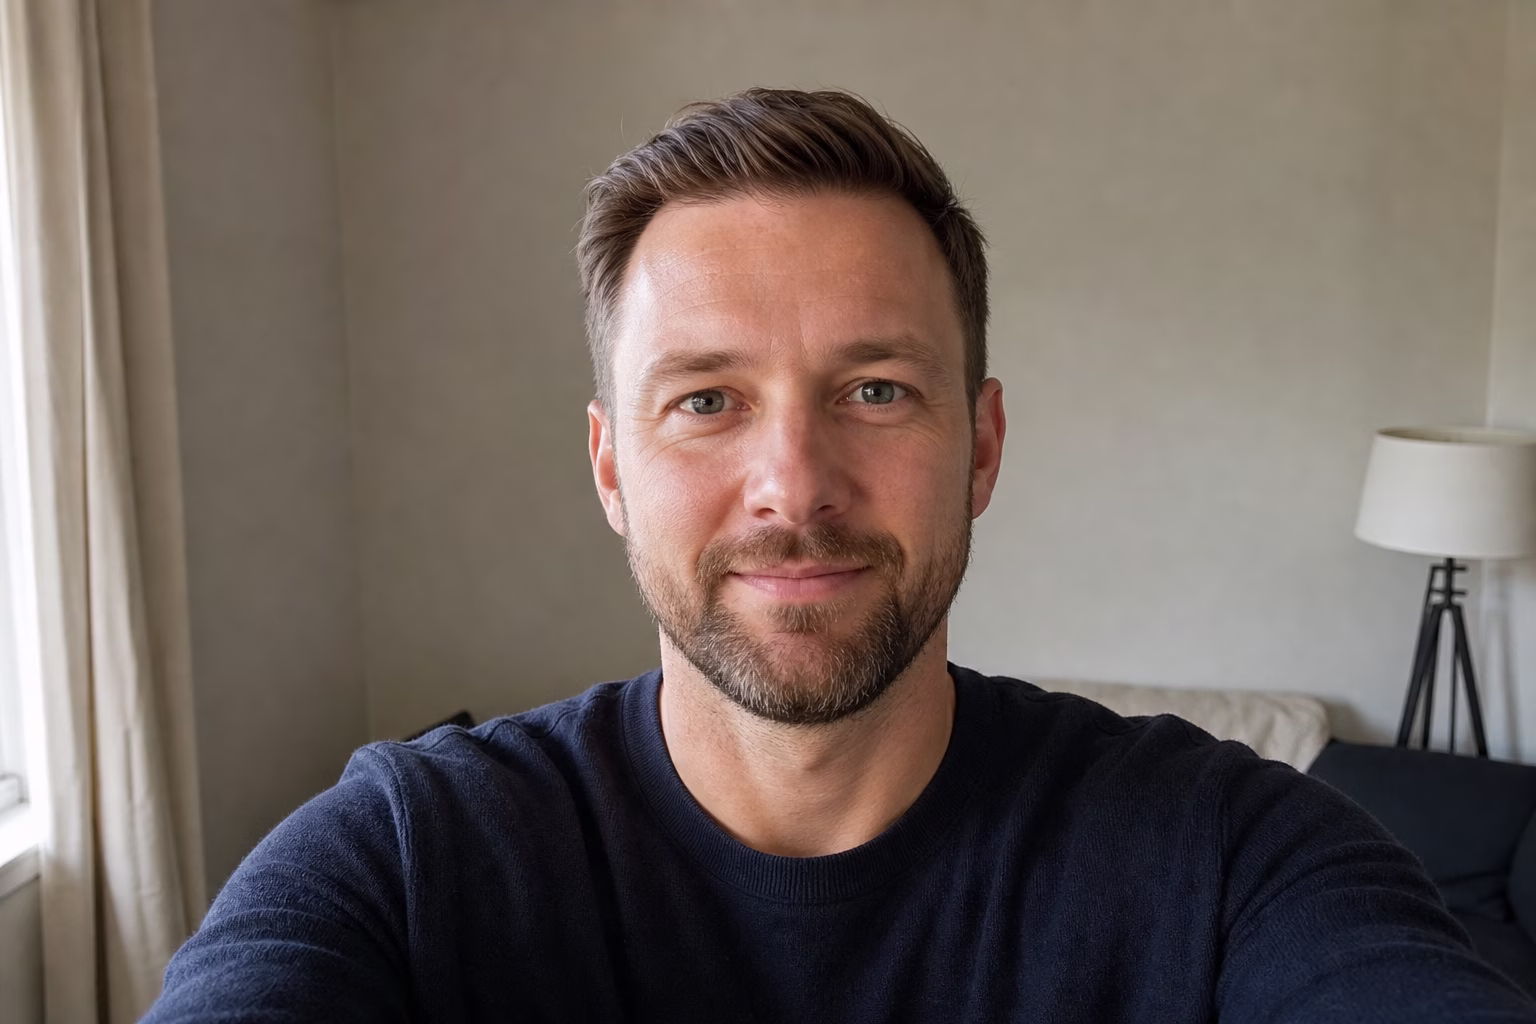
The photo should look like you now, in a work setting, without calling attention to the edit. Start with a clear face, reject any output that changes identity, and use AI only for the parts that need help: background, wardrobe, light, crop, expression, and light retouching.

For LinkedIn, keep the edit quiet: recent face, clear eyes, work-appropriate setting, no identity change.
LinkedIn Help's profile guidance says a profile photo helps members stand out and can lead to up to 2X more profile views. The photo does not need to look glossy or overproduced. It needs to look like you in a context where someone could imagine working with you.
LinkedIn shows profile photos inside a circle in many parts of the product, so leave room around your hair, jaw, collar, and shoulders. LinkedIn Help's upload requirements list profile photo dimensions from 400 x 400 pixels through 7680 x 4320 pixels, with JPG and PNG support and an 8 MB file-size limit. Upload a square portrait so you can decide the crop before LinkedIn applies the circular mask.
LinkedIn also draws a line around likeness: its profile photo guidelines say the profile photo should reflect the member. Keep only AI edits that preserve your face, age, expression, skin tone, hairline, and glasses.
Choose the least edited version that still fixes the problem. If an edit changes your face shape, age, expression, or skin texture, use a simpler version.
Before opening an editor, name the problem in the current photo. Use this six-part pxGuru review checklist before you generate: face clarity, lighting, crop, background, clothing, and realism. A casual photo with good face detail may only need a better crop and background. If the face is blurry, changing the background will not fix the headshot; generate from a sharper portrait instead.
| Problem in the photo | What to change | Review check |
|---|---|---|
| Face is small in the frame | Use a head-and-shoulders crop where the face is readable at thumbnail size | Eyes and mouth still read when the image is small |
| Background pulls attention | Use a neutral studio, office, or lightly blurred background | The face remains the first thing you notice |
| Light is harsh or mixed | Use soft studio, natural light, or window light | Shadows still look like they belong on the face |
| Outfit feels too casual | Choose a role-matched shirt, blazer, suit, blouse, or smart casual top | The outfit matches the role you want people to associate with you |
| Expression feels off | Choose a natural smile, warm expression, calm expression, or confident look | The person still looks like the same person |
| Skin looks over-edited | Use minimal or skin-texture-preserved retouching | Texture remains visible around cheeks, forehead, and jaw |
Use AI to improve the setting around a usable portrait. The face still has to be sharp enough for the edit to work. If the eyes are soft, the photo no longer looks current, or the person is partly hidden, start again with a better input.
Use a recent portrait, not a group crop or a vacation photo where the face happens to be visible. Stand near a window, face the camera, and keep the phone at eye level. If you are taking a new photo, use the rear camera when possible, tap to focus on the eyes, and take several frames with small expression changes.
- Face the camera or turn only a little. Extreme angles make the final crop harder.
- Keep both eyes sharp and visible. Glasses are fine, but glare across the eyes is not.
- Avoid motion blur across the face. A clearer source gives pxGuru more eye, hair-edge, and facial-structure detail to preserve.
- Use soft front or side light. A window, shaded outdoor spot, or bright overcast day works well.
- Leave space above the hair and below the shoulders. LinkedIn's circular crop will remove the corners.
- Wear what you would plausibly wear for a client call, interview, team page, or founder bio.
- Skip hats, sunglasses, heavy filters, event badges, busy walls, and other distractions.
If you are using the AI headshot generator, the source photo does not need to look like a studio portrait, but it still needs a clear face. In the current pxGuru tool flow, you upload one portrait and choose controls for preset, background, wardrobe, lighting, crop, expression, hair, glasses, and retouching. The tool page states that one headshot generation uses 50 credits and that example photos use no credits.
LinkedIn's own photo tips recommend a recent solo photo, simple background, work-appropriate clothing, soft natural light, and a crop where your face takes up about 60% of the frame. WIRED's smartphone headshot guide gives similar practical advice for phone photos: use natural light, a clean background, the rear camera, and a timer or tripod when possible.
Start with LinkedIn. If the result feels too casual, try Corporate; if it feels too stiff, try Natural. Use Executive only when a more formal leadership-style photo fits the role. Treat the preset as a starting point, then adjust the parts that do not fit the photo or role.
Background
Choose Studio gray, Clean white, Blue-gray, Soft office, Glass office, Conference room, or Outdoor when the original setting distracts from your face. Start with Studio gray or Soft office when you want fewer hard lines behind the head.
Wardrobe
Pick the outfit for the role this photo has to support: interview, client call, founder bio, internal directory, or public profile. Suit and blazer options fit roles where classic business presentation is expected. Dress shirt, blouse, knit top, turtleneck, and smart casual options can fit roles where approachability matters.

Example pxGuru settings
| Current photo | First settings to try | Accept the result when |
|---|---|---|
| Sharp face, cluttered kitchen or bedroom background | LinkedIn preset, Studio gray or Soft office background, keep expression close to original | The face looks unchanged and the background no longer competes |
| Clear selfie, T-shirt feels too casual | LinkedIn or Natural preset, dress shirt or smart casual wardrobe, minimal retouching | Clothing looks plausible for your role and the neck/collar edges are clean |
| Good expression, harsh indoor shadows | LinkedIn preset, Studio soft or Natural light, skin-texture retouching | Eyes are sharp and the face still has natural depth |
| Glasses photo with glare | Keep original glasses if the eyes are clear, or use the glasses setting that reduces glare if glare hides the eyes | Frames are straight and both eyes remain visible |
| Older photo that no longer matches you | Use a new source photo instead of an AI setting | The result looks like the person someone would meet or see on a call today |
Lighting
Use Studio soft, Natural light, Window light, Bright, Warm, or Overcast when the original photo has harsh shadows or flat indoor light. Avoid dramatic and low-key lighting unless your industry uses that style. On LinkedIn, the face needs to read quickly at thumbnail size.
Expression and retouching
Keep the expression close to the source photo. Start with Natural smile, Warm, Calm, or Confident before trying a stronger mood change. For retouching, start with Minimal or Skin texture. Use Reduce shine only when glare is the actual issue. If the result looks smoother than you look in a video call, it is too much.
Do not use an AI result that changes identity. Reject images where the jawline, eye shape, age, skin tone, hairline, glasses, or expression no longer match the person.
Do not judge the final image only at full size. LinkedIn shows your photo in several small contexts: search results, messages, comments, connection requests, and profile cards. A photo that looks detailed in a large preview may turn into a dark circle once cropped.
- Open the export as a square and imagine the corners removed. The top of the hair, jawline, collar, and shoulder line should stay inside the circle.
- Zoom out until the face is small. The eyes, mouth, and outline of the head should still be clear.
- Compare it with the original. The person should look like the same person you would recognize today.
- Check clothing edges, ears, glasses, hair, teeth, and background lines for AI artifacts, such as warped frames, uneven teeth, broken hair edges, or background lines crossing the head.
- Ask whether the photo fits the headline and role. A founder, nurse, attorney, designer, and student should not all use the same style.
- Upload a square JPG or PNG at 400 x 400 pixels or larger, and keep it under LinkedIn's listed 8 MB file-size limit.
Before upload, compare the result with the original. If someone from a video call would not recognize you, choose a lighter preset or start from a better source photo.
- Pick a recent photo where your face is sharp and unobstructed.
- Crop mentally for a circle before editing. Keep room around the head and shoulders.
- Open the AI headshot generator and start with LinkedIn, Corporate, Executive, or Natural.
- Choose a simple background, role-matched wardrobe, soft lighting, and restrained retouching.
- Generate only the options you need, since each headshot generation uses 50 credits.
- Reject anything that changes identity.
- Export the most recognizable version and upload it as a square image.